
Git is a free and open-source version control system that can be used to track changes of code. Git allows you to create many repositories for the same application and coordinating work on those files among multiple people. It is primarily used for source code management in software development. In this article, we will learn how to install an HTTP Git Server With Nginx on Ubuntu 16.04.
Requirements
- Fresh Ubuntu 17.10 server installed on your system.
- Sudo user with root privileges.
- A PC with Windows 10 installed for git client
Getting Started
First, as always, we should start out by running general OS and package updates. On Ubuntu we’ll do this by running:
apt-get update
After you have run the general updates on the server you can get started with installing Git.
For Ubuntu, this PPA provides the latest stable upstream Git version
add-apt-repository ppa:git-core/ppa
For the latest stable version for your release of Debian/Ubuntu
apt update; apt install git
apt-get install git-core
check if git is installed
git --version
Configure Git’s settings (for the root user)
It’s a good idea to setup your user for git now, to prevent any commit errors later. We’ll setup the user testuser with the e-mail address testuser@example.com.
git config --global user.name "yourname"
git config --global user.email "test@yourmail.com"
Create Git Repository
Once everything is configured properly, it’s time to create Git repository. You can create repository with name repo.git with the following command:
cd /var/www/html/git
sudo mkdir hitesh.git
cd /var/www/html/git/hitesh.git
sudo git --bare init
sudo git update-server-info
sudo chown -R www-data.www-data .
sudo chmod -R 777 .
Next, you will need to allow http service through UFW firewall. By default UFW is disabled on your system, so you need to enable it first. You can enable it with the following command:
sudo ufw enable
Once UFW firewall is enabled, you can allow HTTP service by running the following command:
sudo ufw allow http
You can now check the status of UFW firewall by running the following command:
sudo ufw status
Ok that’s it for the server side configuration. You can now move on to the client side to test Git.
Test Git on Client Machine
first, install git on your windows, download the windows version on next:
https://git-scm.com/

then download and install the git client:
https://www.syntevo.com/smartgit/
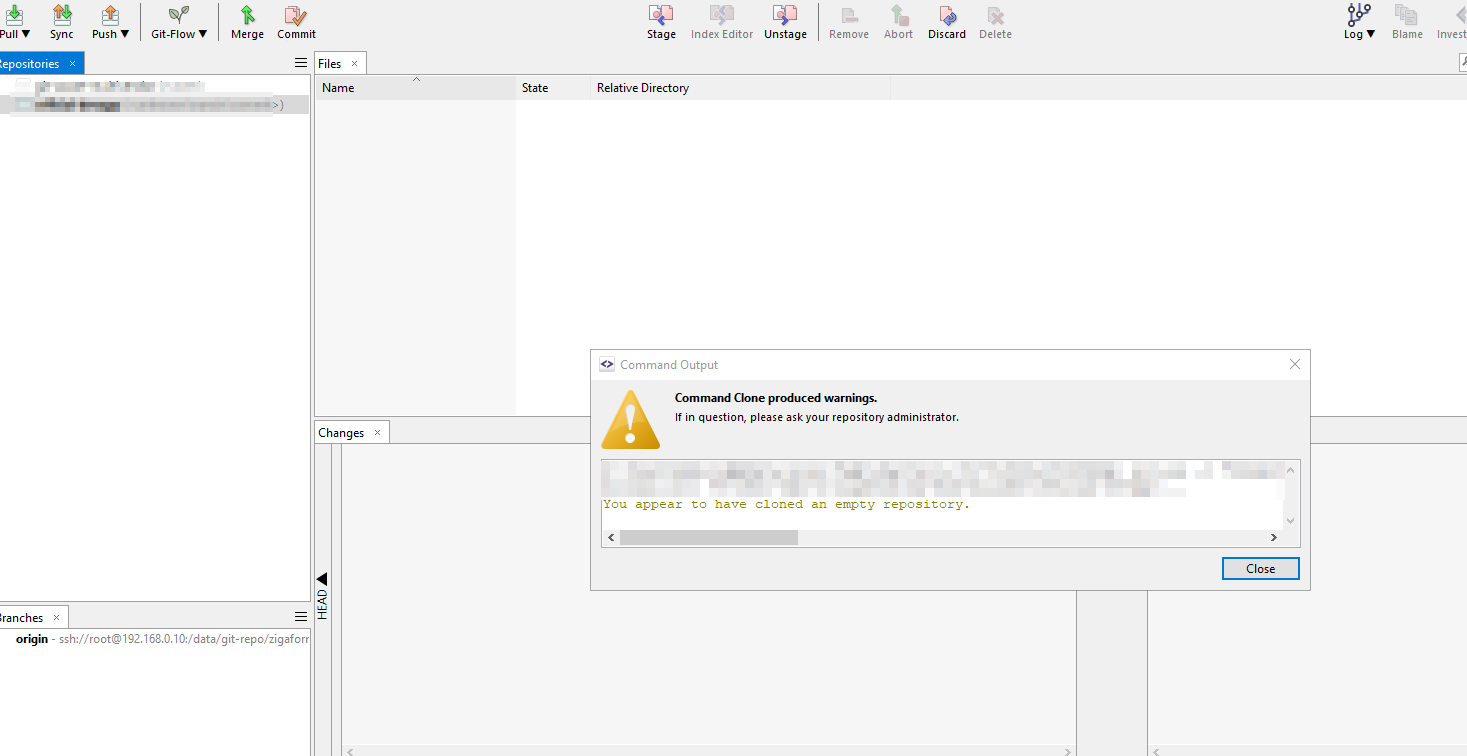
after installing, clone the repo from your ubuntu server
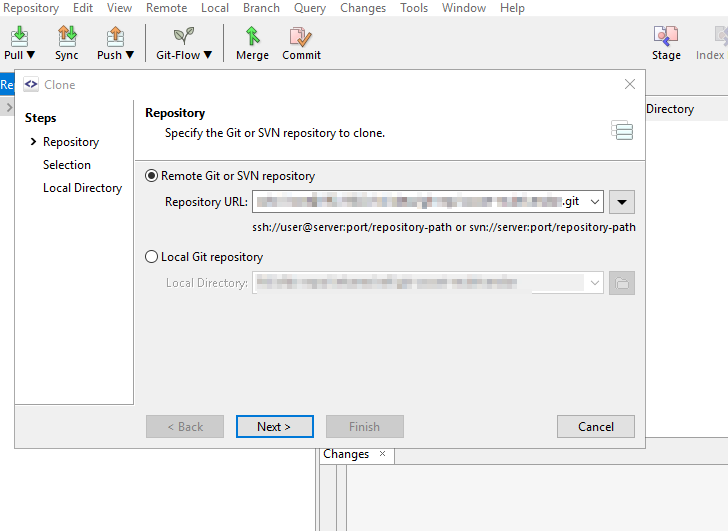
in the repository URL, just add the path folder where you initialized the git:
ssh://root@192.168.0.27:/var/www/html/git/hitesh.git
then it will ask you for ssh credentials, just put it and login:
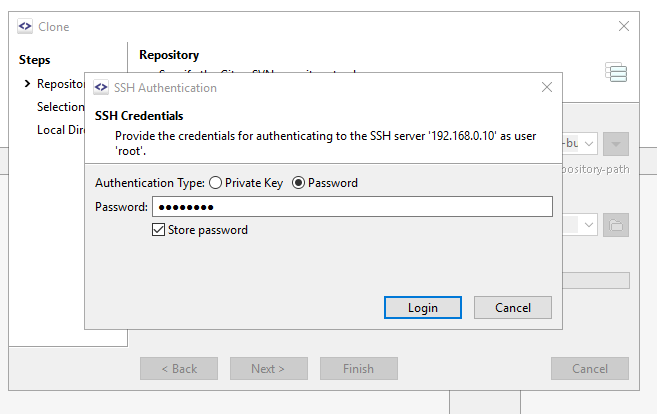
then next:
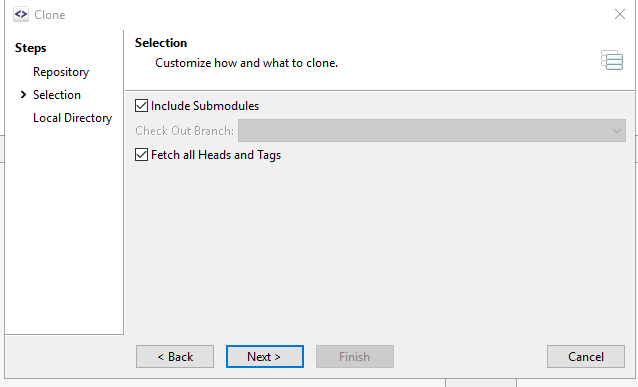
finally, you will have to put your local path folder on your windows 10
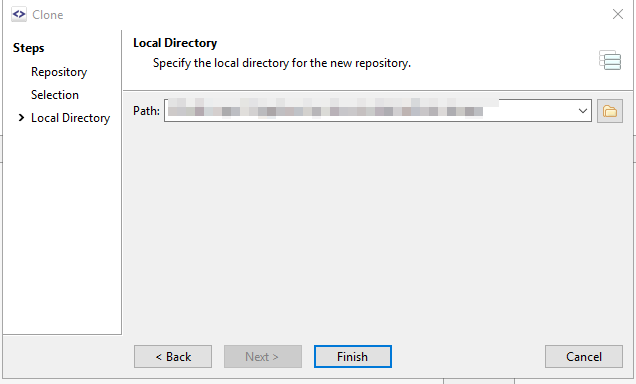
and push the finish button.
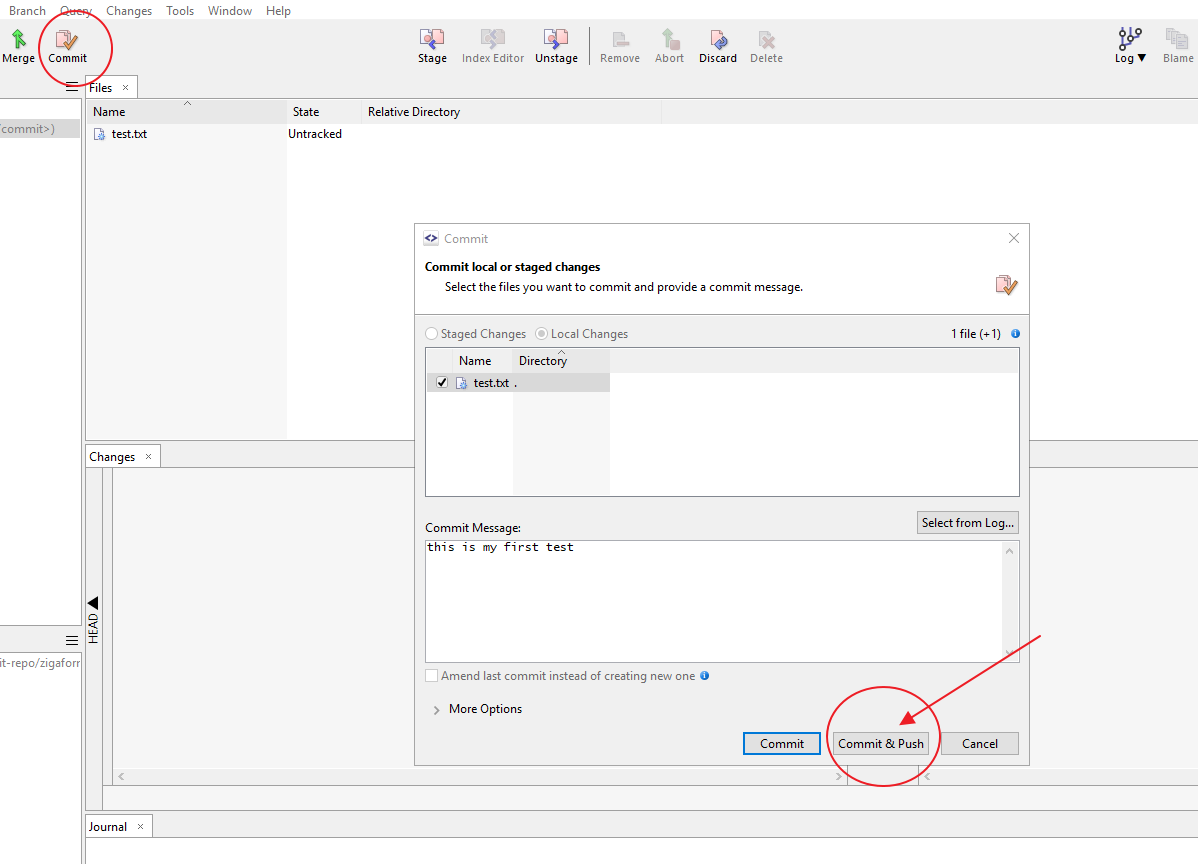
then add any files to test, In my case, I added test.txt file, and you see it appear on smartgit dashboard
then just push commit button to send the changes:
after commited. you have to send the changes to ubuntu server.
right click on local branches > master then choose “push to” option
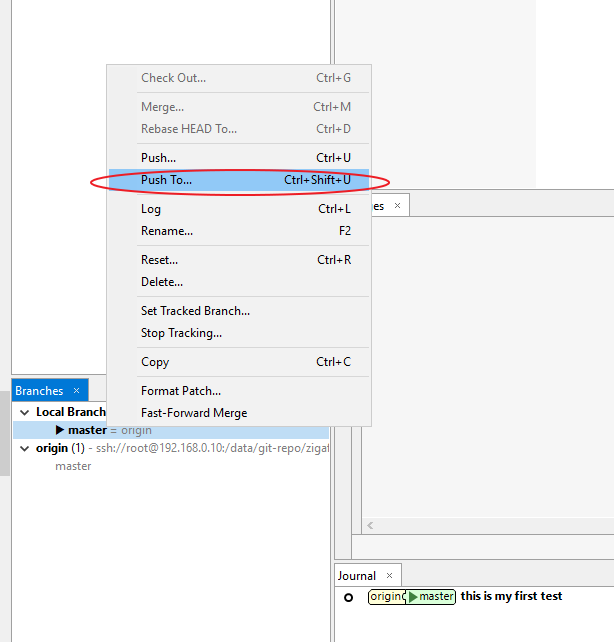
choose “tracked or matching branch”
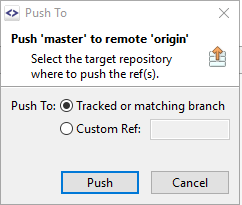
then a message “push succeeded” will appear. then you have the git on server updated.
Advanced git commands (optional)
you can use git commans, just go over your project and right click, then a dialog will appear:
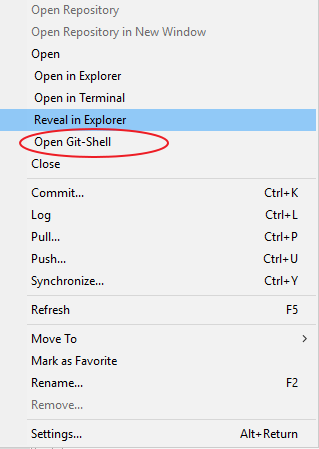

then you can put any git command applied to your project in windows 10.
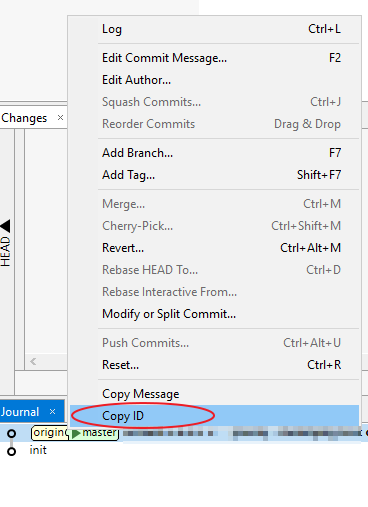
also you can get the commit id on smartgit, go to the branch and choose copy id option:
Get latest version
Getting latest version and reset at same time:
git fetch --all
git reset --hard origin/master
OR If you are on some other branch:
git reset --hard origin/<branch_name>
git fetch downloads the latest from remote without trying to merge or rebase anything.
Then the git reset resets the master branch to what you just fetched. The –hard option changes all the files in your working tree to match the files in origin/master
also you can do the next:
git reset --hard HEAD
git pull
Reset to certain commit id
if you do
git reset --hard c14809fa
It will make your local code and local history be just like it was at that commit. But then if you wanted to push this to someone else who has the new history, it would fail.
Warning! if you use –hard, it will remove your history. and the commande I used to recover after applying that code was:
git reset --hard HEAD@{1}then you will be able to recover your last changes
if you do
git reset --soft c14809fa
It will make your local files changed to be like they were then, but leave your history etc. the same.
Get only modified files and export
git diff-tree -r --no-commit-id --name-only --diff-filter=ACMRT | xargs tar -rf mytarfile.tar
or
git diff-tree -r --no-commit-id --name-only c1a546782 1f72b38ad | xargs tar -rf test.tar
as you can see, git is very powerful using commands too. After using bazaar for many years, recently I switched from bazaar to git, and I am happy with it. bazaar is outdated and git is cutting-edge at the moment.
Get certain commit from git
git archive --format zip --output E:/yourzipfile.zip 63fa75
Get latest commit
git stash
git checkout latest-commit
git diff --name-only previous-commit | zip ../changes.zip -@
git checkout master
git stash apply
NOTE: The git stash and git stash apply are only needed if you have working copy changes that have not been committed.
NOTE 2: git checkout latest-commit will put you on a detached head. Be sure to git checkout master when you are done or you could wind up having problems with future commits.
Restoring a Revision in a New Local Branch
As said, using the reset command on your HEAD branch is a quite drastic action: it will remove any commits (on this branch) that came after the specified revision. If you’re sure that this is what you want, everything is fine.
However, there is also a “safer” way in case you’d prefer leaving your current HEAD branch untouched. Since “branches” are so cheap and easy in Git, we can easily create a new branch which starts at that old revision:
$ git checkout -b old-project-state 0ad5a7a6
Normally, the checkout command is used to just switch branches. However, providing the -b parameter, you can also let it create a new branch (named “old-project-state” in this example). If you don’t want it to start at the current HEAD revision, you also need to provide a commit hash – the old project revision we want to restore.
Voilà: you now have a new branch named “old-project-state” reflecting the old version of your project – without touching or even removing any other commits or branches.
and if you need to go back to master:
git checkout master
Revert to previous changes without removing history branch and keeping on the same branch
git revert --no-commit 0766c053..HEAD
git commit


